Regor's Goldwing Scrapbook
[ Home ] [
Search ] [ About Us
] [ Submit Pics/Docs/Suggestion ]
("Submit" Turned off due to hacking
- Sorry )
Pick from the list below to see an accessory on a Goldwing
↓
↓
Get your tips here
↓ ↓
WingIt
Links
Support your Small
Business Owner
↓ ↓
Vendors
Please Sign
↓ ↓
↓ ↓
Misc Pics
Need your own Web space
1000MB 50GB Web Hosting
for only $9.95/month with no
contracts. PHP4, MYSQL, CGI,
SSH all included.
Click here!
Butler Cup Install
Tips
(Driver)
Back to Tips
Install by Regor
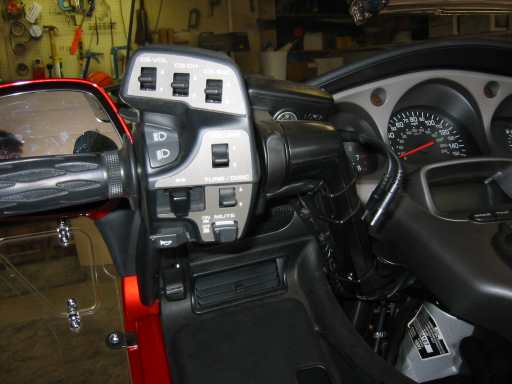
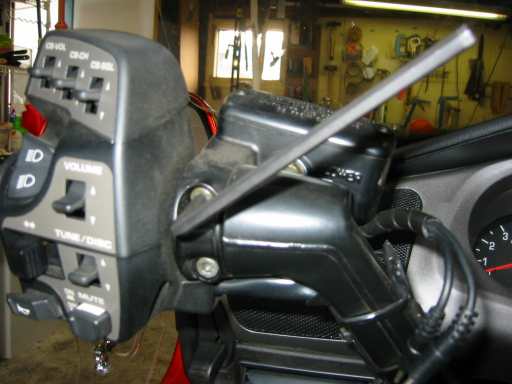
The install was very straight forward according to the instructions. I do have one or two tips to add along the way.Start of project, before
picture
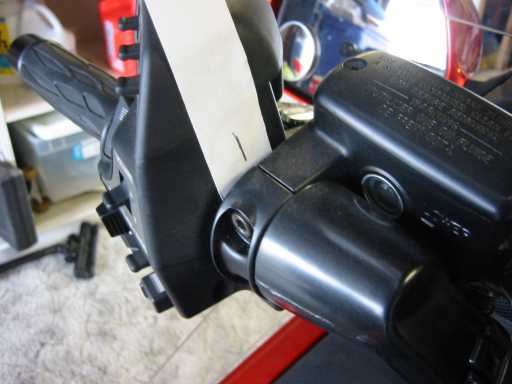
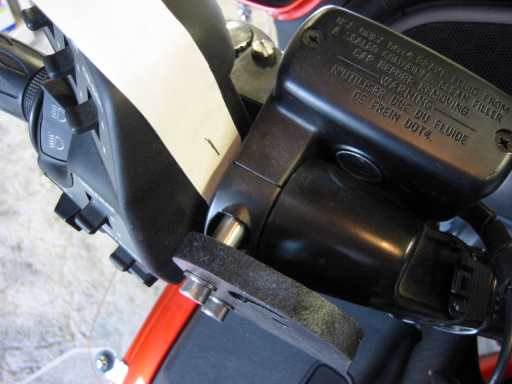
Because you will be removing the hardware that keeps the clutch lever in
place, I would suggest placing a piece of masking tape on your bike, and
marking the center of the clutch hardware, The allen head wrench for
removing your clutch lever bolts is a 5 mm
Next is to start attaching the Butler Hardware with their supplied bolts.
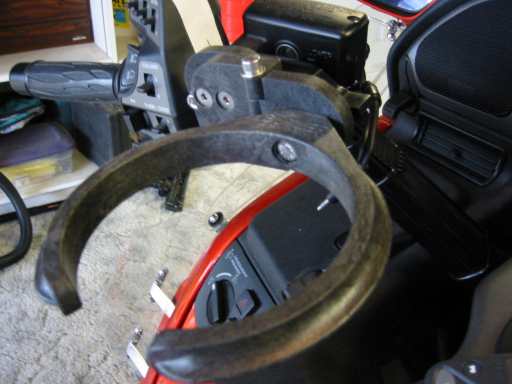
The next step is not clear in the instructions, so I did it backwards
just for illustration purposes (ok ... I put it on backwards the first time,
and installed correctly afterwards)
Wrong
Correct
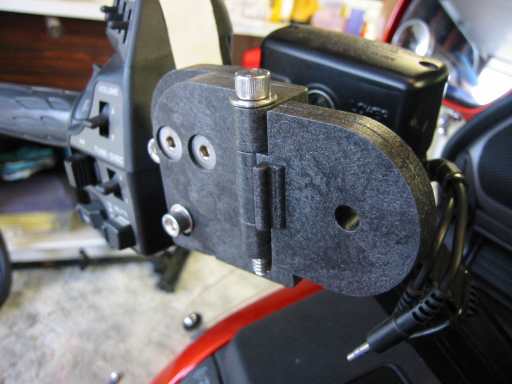
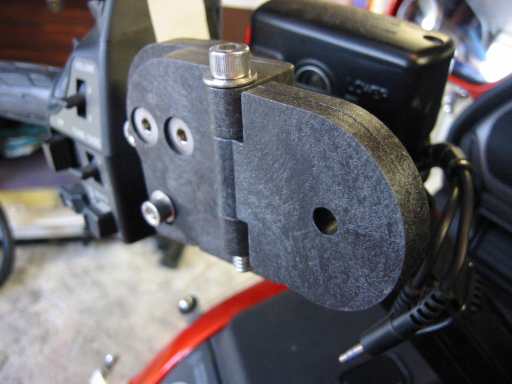
What your looking for is the little tab on the round edged piece. On the
left hand picture, the little tab is facing forward. In the right hand
picture, the tab is facing backwards, and you'll see the piece is flat.
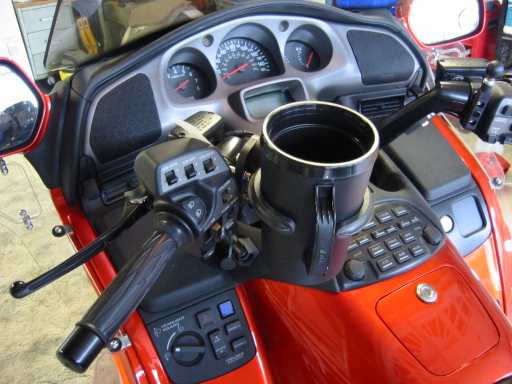
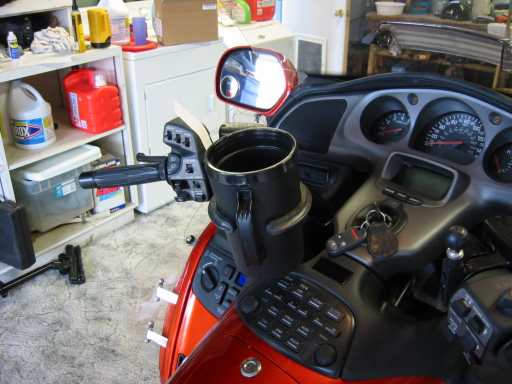
Next is the cup holder itself is installed with one bolt..
The after pictures