Regor's Goldwing Scrapbook
[ Home ] [
Search ] [ About Us
] [ Submit Pics/Docs/Suggestion ]
("Submit" Turned off due to hacking
- Sorry )
Pick from the list below to see an accessory on a Goldwing
↓
↓
Get your tips here
↓ ↓
WingIt
Links
Support your Small
Business Owner
↓ ↓
Vendors
Please Sign
↓ ↓
↓ ↓
Misc Pics
Need your own Web space
1000MB 50GB Web Hosting
for only $9.95/month with no
contracts. PHP4, MYSQL, CGI,
SSH all included.
Click here!
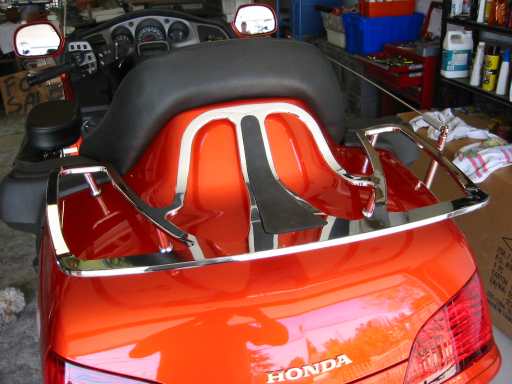
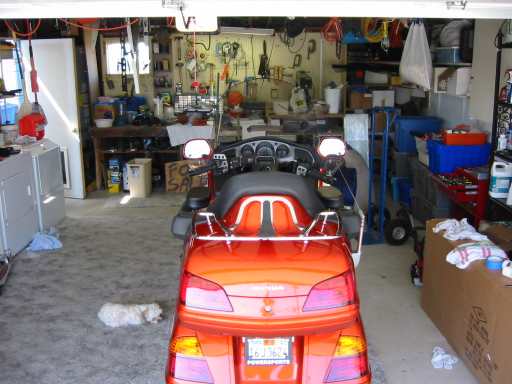
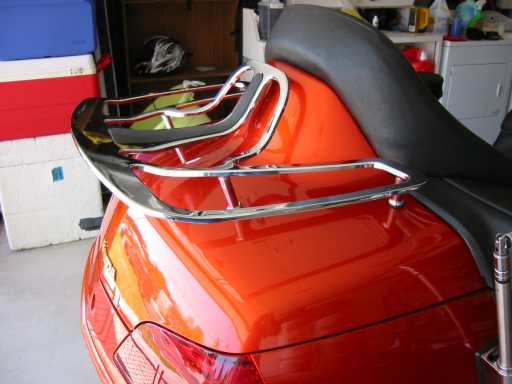
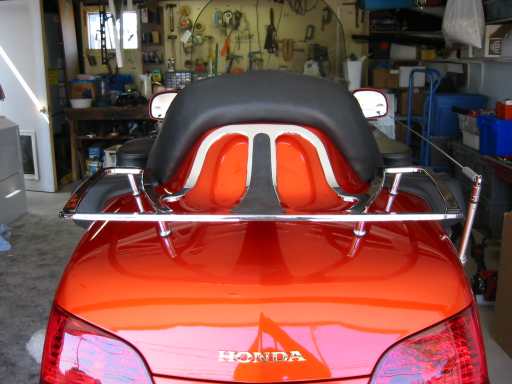
Kuryakyn Luggage Rack
Install Tips
Back to Tips
Write-up by Regor
3-21-2003
Total install time took approximately 1 hour, which included pictures.
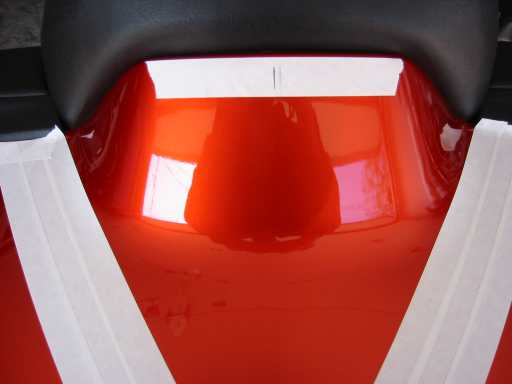
The instructions were absolutely correct in applying masking tape to the trunk, and do NOT skimp! I accidentally nicked my trunk with a leg, and should have actually covered the whole trunk with a rag or some material.
The
instructions do not state this, but I also applied masking tape near the
passenger backrest. Draw a line in the center to aid in centering the
luggage rack.
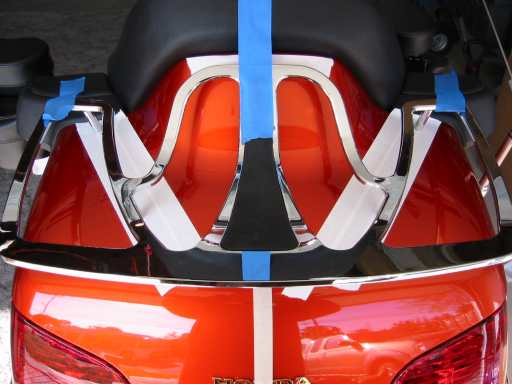
Center the luggage rack on the trunk. Measure, look at it from all angles,
and measure again. I left enough room between the luggage rack and the
passenger backrest to allow a rag to get between (for cleaning purposes).
Once you are happy with the location, use tape to hold it down and check it
again to make sure it didn't move. Draw a line around each leg.
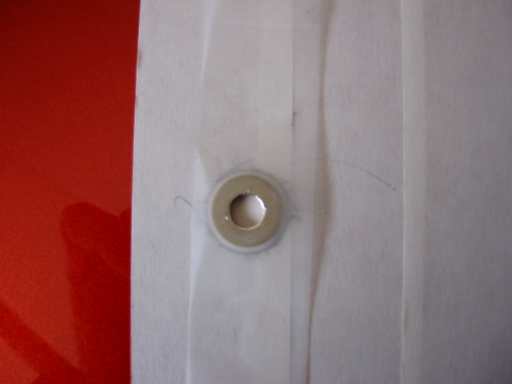
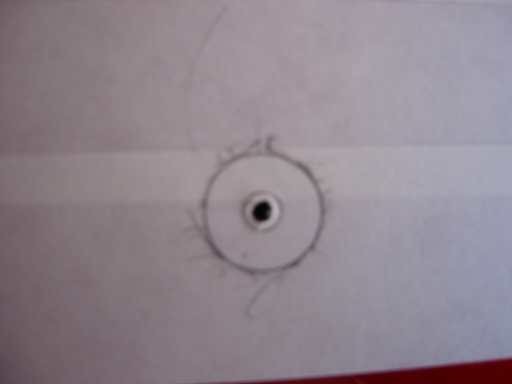
To aid in centering of the hole you have drawn, I got a washer, put a piece
of scotch tape over it, centered the washer over my pencil mark, then drew a
circle inside my circle. This gave me a real good idea of the center to aid
in drilling. I started with a 1/8" drill bit, then went up to my 1/4".
*** Tip ***
As I installed my luggage rack, I realized that: since the trunk is
contoured, when I raised the luggage rack up from the 2 washers, the holes
did not line up exactly.
My suggestion, measure in 1/32 each on the hole center, or just pick one
side and bring it in a 1/16:

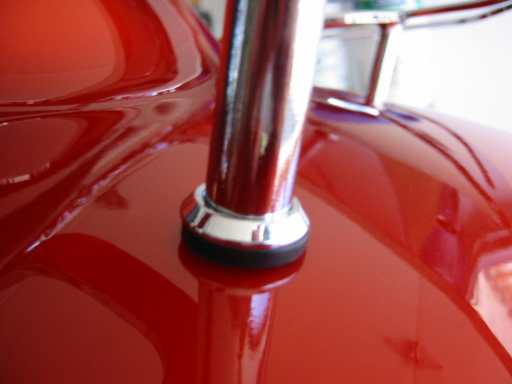
The washers against the trunk are installed like the picture below.
I do not have them, but will probably replace using star washers, and larger
metal washers inside. I agree with some owners, that these are small
washers to try and distribute a load.
The after pictures