Regor's Goldwing Scrapbook
[ Home ] [
Search ] [ About Us
] [ Submit Pics/Docs/Suggestion ]
("Submit" Turned off due to hacking
- Sorry )
Pick from the list below to see an accessory on a Goldwing
↓
↓
Get your tips here
↓ ↓
WingIt
Links
Support your Small
Business Owner
↓ ↓
Vendors
Please Sign
↓ ↓
↓ ↓
Misc Pics
Need your own Web space
1000MB 50GB Web Hosting
for only $9.95/month with no
contracts. PHP4, MYSQL, CGI,
SSH all included.
Click here!
Tulsa
Tips - 2
Pull windshield trim from the adjusting arms. Be careful not to loose the rubber grommets that fit over a boss. You must pull the trim toward the side in order to clear the boss. Once you have cleared the boss, pull slightly forward so that the trim does not try to reset itself over the boss. Repeat for the other side. There are four tabs that are seated into rubber grommets and are holding the windshield trim in place. The picture below is taken from the back of the windshield trim after it was removed. Tabs A fit into a horizontal surface and Tabs B fit into a vertical surface. Pull forward on the crease at the bottom center of the windshield trim until the two B tabs are released. Then lift slightly until the two A tabs are released. I decided that I would use some adhesive and glue the grommets in place. This will make reinstallation easier.

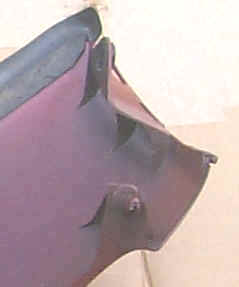
Tab A
Grommets for B Tabs
![]()
Grommet for Tab A
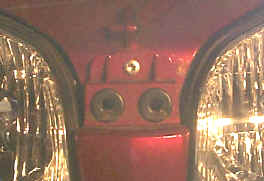
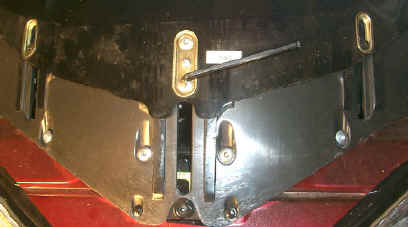
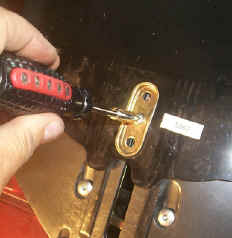
Turn the flap at the center of the windshield holder plate, rotate it to expose the bolt in the center. Remove this bolt (8 mm).
![]()
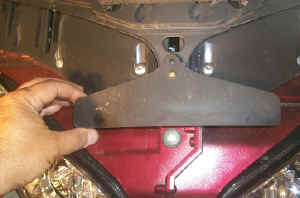
Remove the nut (10 mm) which is holding the windshield holder plate in place
from each end. I show a wrench in the picture; however, the nut was so tight
that I had to use a socket. Set the holder plate and hardware aside.
![]()
-
Raise the windshield to its highest position which it the last notch (5th click) before it releases to lower. If the ratchet mechanism will move down, it is not in the correct position. It is best to raise the windshield all the way to the top and then lower all the way to the bottom. As you lift count the clicks and stop at 5. Try to lower the windshield. If it does not lower, you are in the correct position.
-
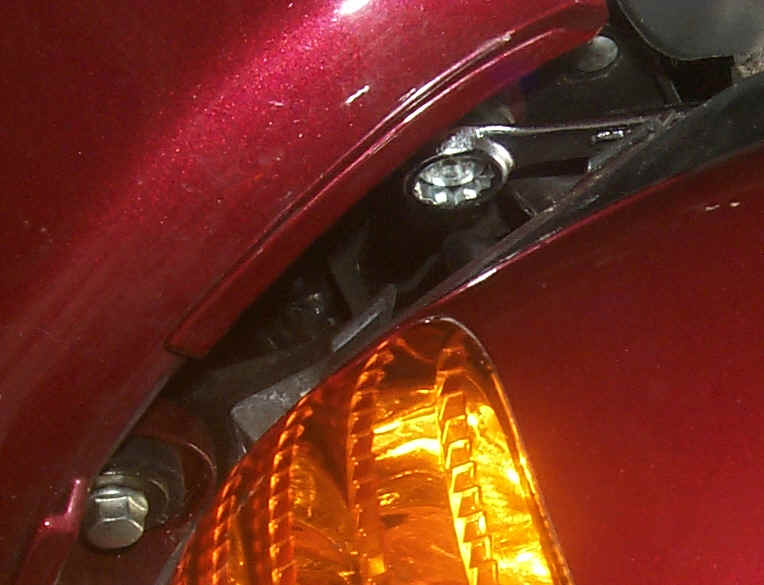
Remove the two Allen Screws (5 mm) in the center mounting collar. Loosen the Phillips screw slightly.
Go to the 3rd part of Tulsa Tips